3 years ago I traded a watch (nothing fancy) for a Nikon D5000 Camera. My first Digital SLR (DSLR) camera. It came with the well-rounded stock lens, an 18-55mm f/3.5-5.6, and no battery. The Nikon D5000 was discontinued in November of 2010 so it’s safe to say this was an oldie… but a goodie. I took thousands of photos with it. I Generally stuck with the “auto” mode, with the occasional “I know what I’m doing aperture priority mode” (these photos never came out the way I wanted), and I never had a passion for an upgrade. That was until about 2 months ago when I was looking through some old things and found my grandpa’s old Nikon FG. A film camera that was manufactured from 1982-1986. With film every shot matters. Aperture, ISO, and shutter speed all play a massive role in the creation of a photograph. This lead to a lot of research to better understand how to make great photos, I thought I’d share some of that research on here.
I’ll keep this all very high-level as to not get too deep into the weeds. I learned over the past month that photography is truly the study of light and how to bottle it up. Maybe in some future posts I can dive deeper into these concepts, and others.
Aperture
Aperture mainly controls two things. Exposure (the brightness of our photos) and depth of field.
First things first - unlike ISO and Shutter Speed your lens controls how large and how small your aperture can be. Earlier I said that my first DSLR camera (the Nikon D5000) came with an “18-55mm lens f/3.5-5.6” … what does f/3.5-5.6 mean? That tells us our minimum and maximum Aperture! it’s read aloud as f-stop 3.5 through f-stop 5.6. In this scenario, our maximum aperture is 3.5 and our minimum is 5.6 - that’s right, the lower the number the larger the aperture, the higher the number the smaller the aperture. Depending on the lens’ ability aperture can go very low and very high.
Depth of Field
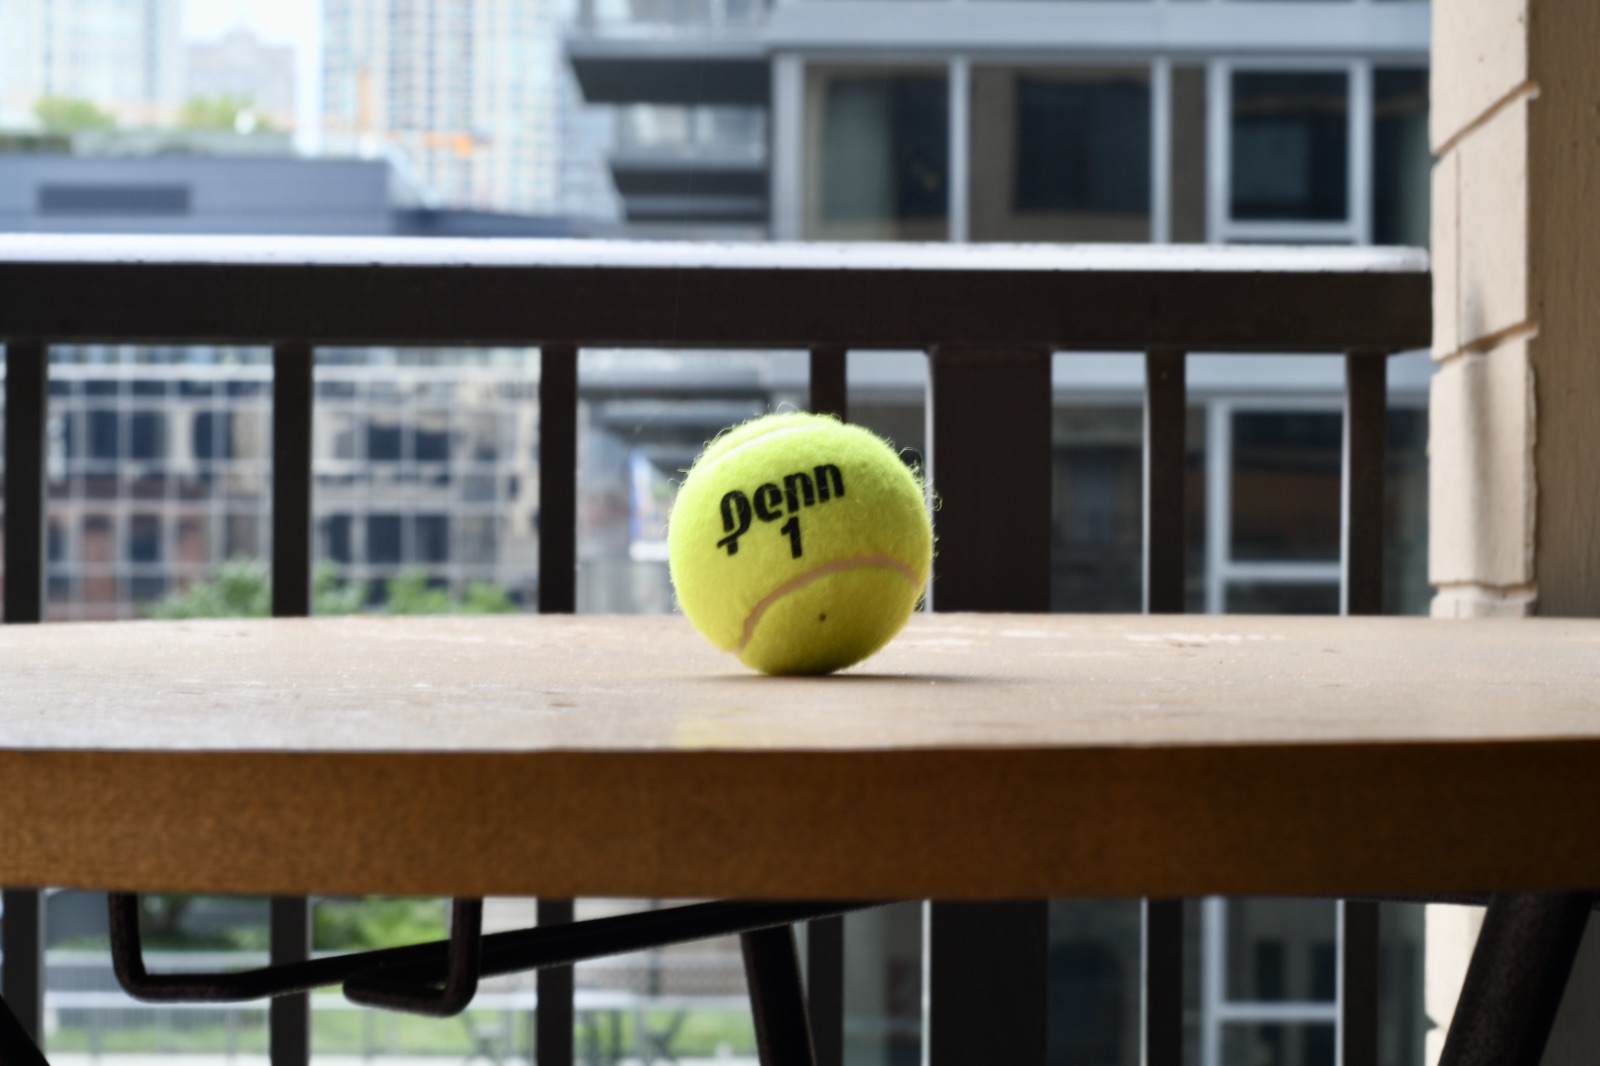
The easiest way to master aperture is to think about it in terms of your field depth. a larger aperture, something like f/1.8, would keep your subject in focus and blur everything else - resulting in a very shallow depth of field. This can be seen in the image below

50mm lens; f/1.8 & 1/250s & ISO 100
Whereas a smaller aperture, something like f/11 will result in a very deep depth of field - Nothing is blurred and everything looks crips and in focus. Be weary, as you decrease the size of your aperture (higher f-stop) you begin to “smooth” the image, making things look less sharp
50mm lens; f/11 & 1/13s & ISO 100
Exposure
Aperture also controls the amount of exposure, or brightness, of your photographs. When your aperture is small you are shrinking the amount of light that will reach your camera sensor. This can result in an under-exposed image

Inversely when your aperture is large you are increasing the amount of light that will reach your camera sensor. Resulting in an over-exposed image like below

It’s best for us to adjust our shutter speed in order to compensate for the amount of light our aperture is letting in. That being said, in a darker environment we can attempt to use a larger aperture to capture more light within our image.
- Much more information on aperture can be found HERE
Shutter Speed
Next up we have Shutter Speed. Similar to aperture, shutter speed controls the brightness of a photo (your exposure). Different from aperture, shutter speed also controls your images motion blur. Shutter speeds will be determined by the body of your camera and not your lens - that being said, most camera’s have the same range of shutter speeds and it wouldn’t be considered a differentiator in the camera market. (that is unless you have super insane slow motion feature)
Shutter speed is exactly what it sounds like, it determines how long your cameras shutter is open. Think of it like a closed eye - your shutter speed would be the length of time you open your eye for. These times range from 1/4000th of a second all the way to 30 seconds - big, big difference there, below will explain
Motion Blur
I want to preface this section by saying if you are ever taking a photo with a longer shutter speed than say 1 second or even 1/2 of a second you absolutely MUST use a tripod (or something to stabilize)
When you take a photo of a still image , nothing in your view is moving motion blur becomes less exciting… But, when you’re taking a photograph of a flowing river or a flying bird , this is when motion blur can play a crucial part.
If we set the shutter speed to something slow, say 1-3 seconds, we’ll begin to see moving objects blur.
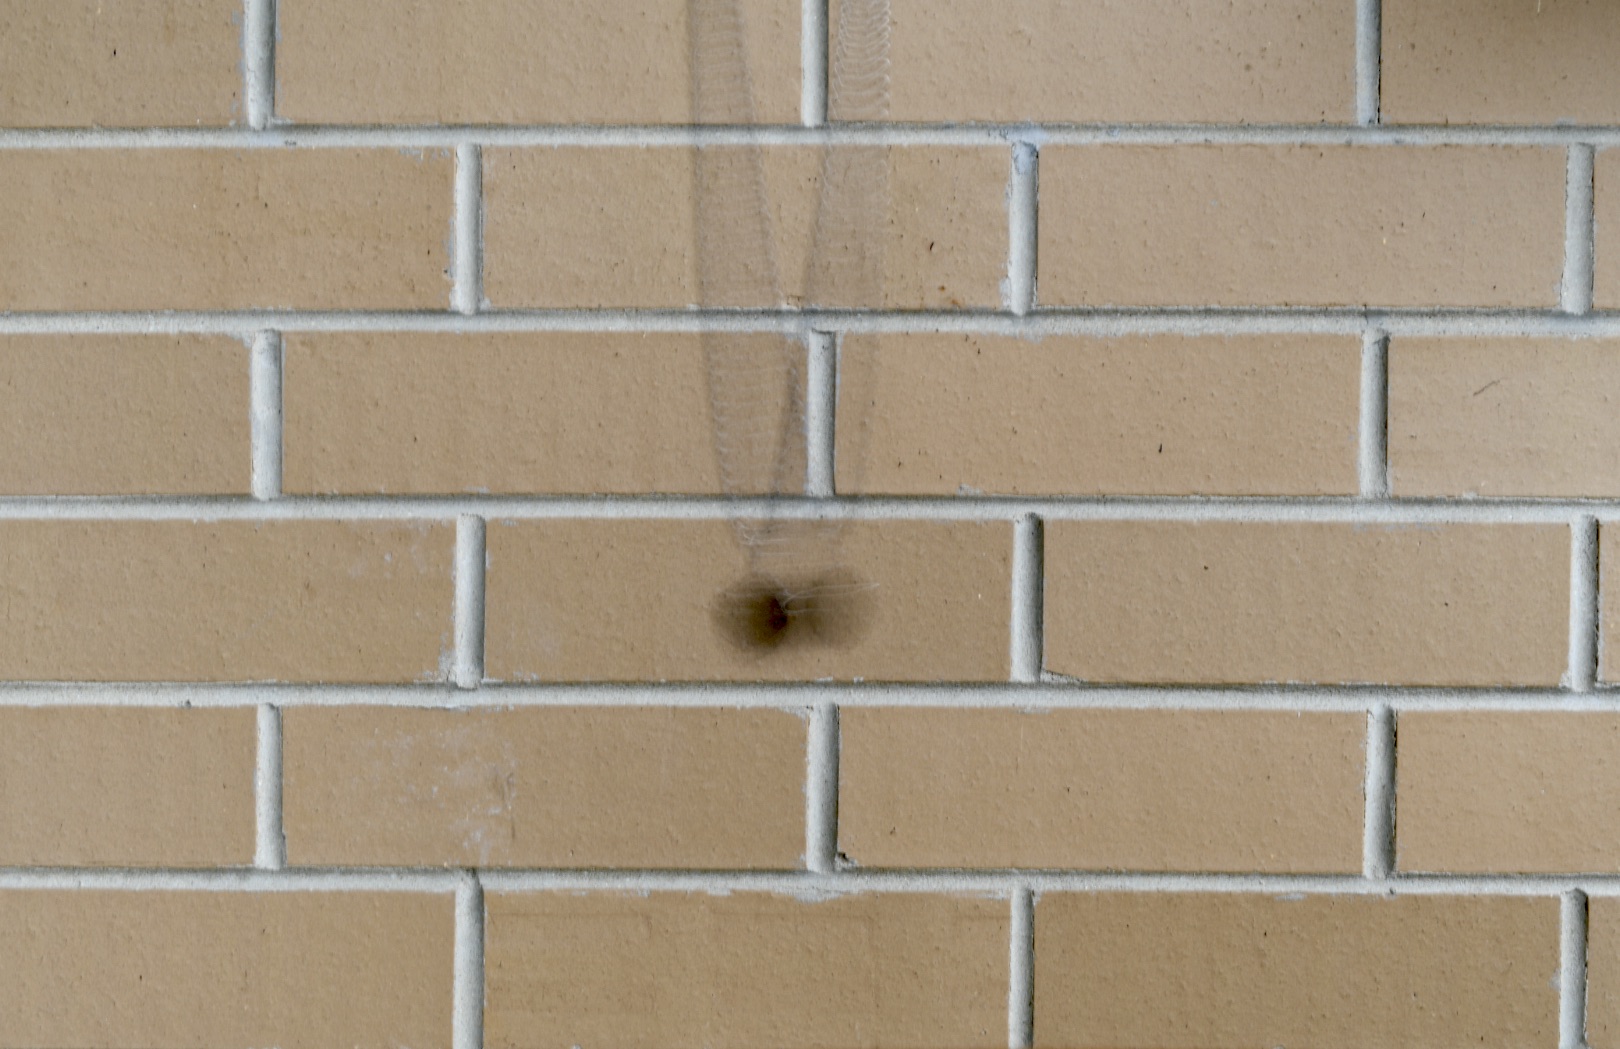
18-55mm lens; f/22 & 2 seconds & ISO Lo
With slow shutter speeds we can capture light in some pretty neat ways just by waving it around and keeping our camera steady
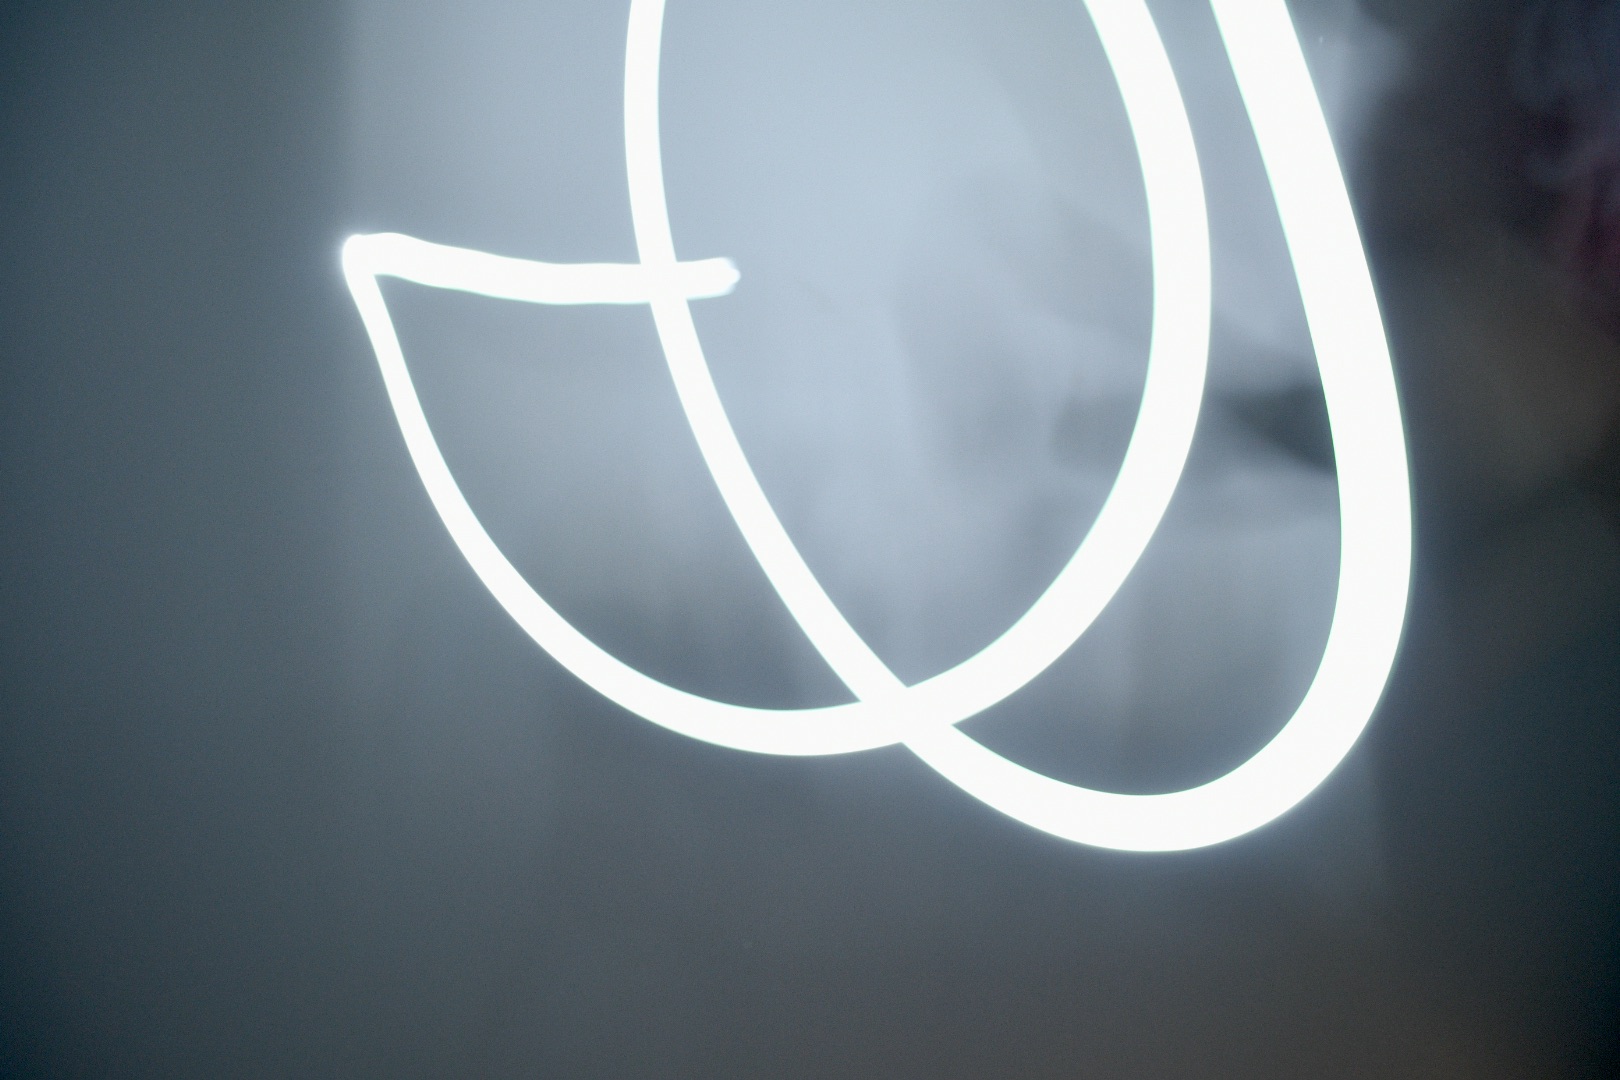
18-55mm lens; f/5.6 & 5 seconds & ISO 800
If we set the shutter speed to something fast we’ll be able to “freeze time” eliminating any blur, even with moving objects
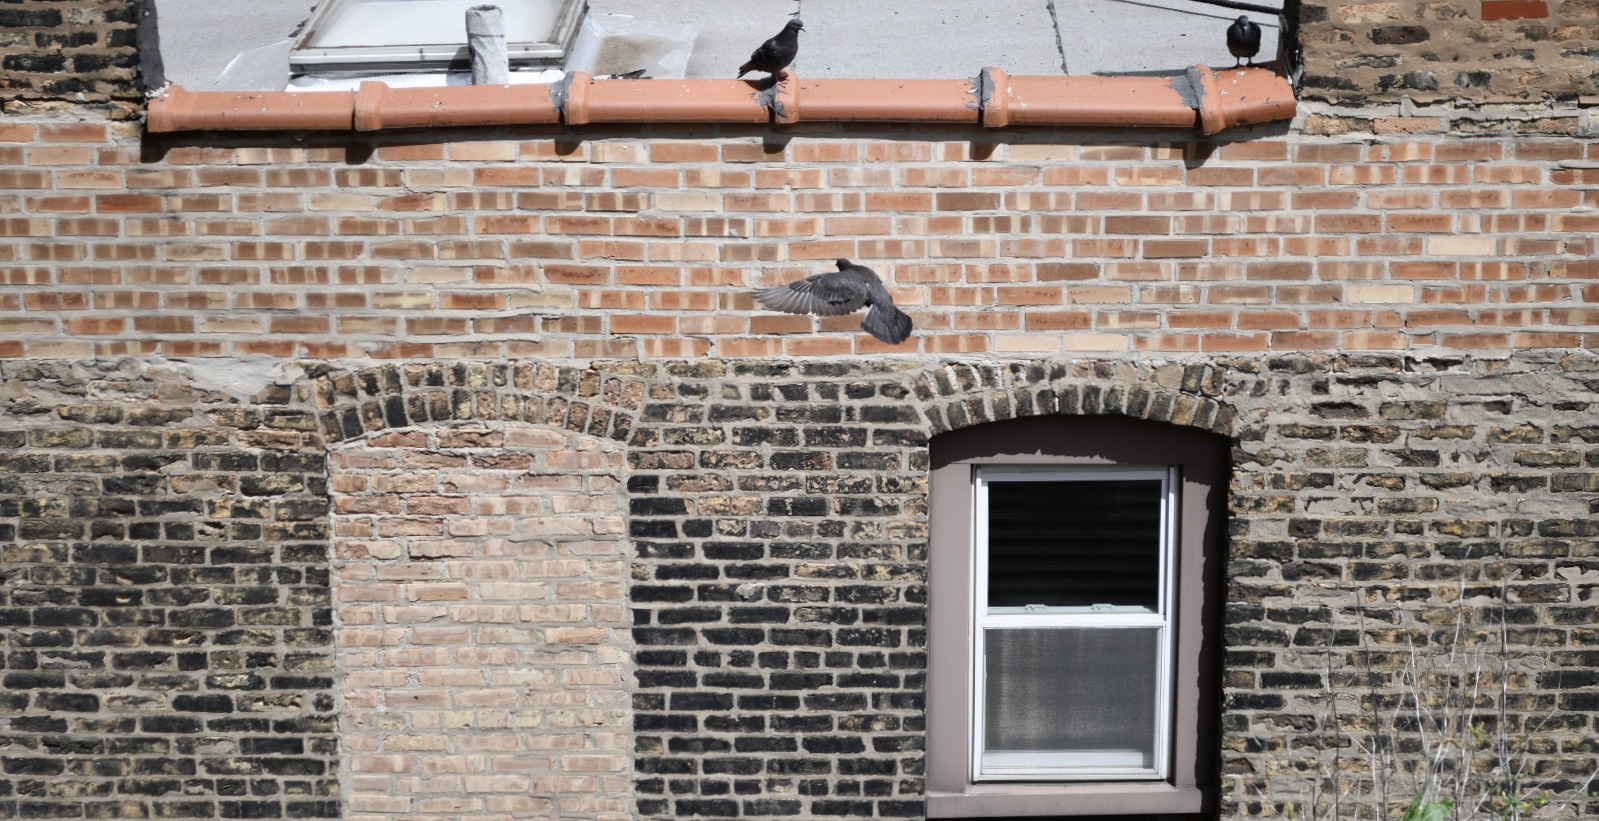
18-55mm lens; f/5.6 & 1/1000s & ISO 200
Exposure
Shutter speed also plays a big role in helping us determine the brightness of a photo. In my experience this is the GOTO for adjusting exposure.
The concept is pretty logical - if we have a shorter shutter speed we’ll let in less light, making our image darker. If we have a long shutter speed we’ll let in more light, making our image brighter.
If our image looks too dark , instead of touching our aperture (or our ISO) we should adjust our shutter speed to get that perfect lighting.
More information can be found HERE
ISO
ISO is… complex. Simply ISO (International Organization for Standardization) helps control the brightness of our photos. When shooting film, the film itself determines our ISO. This has something to do with the way the film is initially created. For example, when shooting Portra 400, the “gold standard” in film, the ISO is predetermined to be 400 - meaning that the highest quality images (least amount of noise) will be shot at ISO 400. However in Digital SLR cameras ISO is simply a setting we can adjust to fit our scene (Modern DSLR’s have a HUGE range of ISO)
How do we determine what ISO we should use?
This slightly depends. But generally, we determine the ISO to use based on the amount of light in our scene. If there’s a great amount of light we want to use as low of an ISO as possible. This is generally because the lower the ISO, the lower the noise.
However, When shooting film our ISO is predetermined by our film. So if the above statement (the lower the ISO, the better) is true, why isn’t something like Ektar 100, a 100 ISO color negative film, considered the gold standard? This is, in part, because the 100 ISO film requires a TON of light to produce the exposure we want our pictures to have. No matter how much you adjust the shutter speed and aperture with the 100 ISO it’s hard to get good exposure in shade or clouds, for example. The 400 ISO film is more versatile and can produce vibrant colorful photos with great exposure in direct sunlight, shade, clouds, etc.
I’m not going to get into “pushing” or “pulling” film (I never do this), meaning setting your SLR camera’s ISO to a different ISO than the film itself - however you can do some reading on that HERE. The only way to do this correctly (from what I know) is to have oversight on your development of the photos. Leaving your exposures in the soup longer, etc.
One more thing
ISO can also effect our image blur. Lower ISO will usually call for a slower shutter speed… this is because our camera requires a TON of light to get that low ISO. As we learned earlier the slower the shutter speed, the more motion blur. Like I said, ISO is complex. 😅
You can do much more reading on ISO (and I suggest you do 😁) HERE
Conclusion
Aperture, Shutter Speed, and ISO are the three main pillars of photography. Each one of them plays a vital and delicate part of capturing a great image. Everything in photography is a trade-off and requires a lot of practice to understand the perfect combinations.